Looking for an easy sweet treat for this upcoming halloween season? Well I got you covered. Candy apples are a delicious sweet spin off of a healthy treat to satisfying a sweet tooth, perfect for kids or anyone else looking for caramel goodness.
These are not just any candy apples with a regular red hard sugar coating, that usually leaves you a few teeth short. These are a perfectly crafted three layered treat.
Don’t be frightened when I say three layers they are still as easy to make as 1, 2, 3! The first layer consists of ooey gooey caramel, the second a magnificent shell of white chocolate, and the third your choosing of coating, Oreo or cheesecake. Doesn’t sound too hard right, IT ISN’T, SO LETS BEGIN!
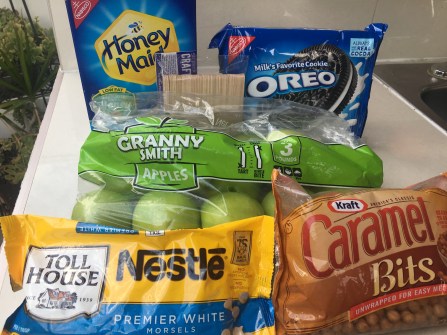
Ingredients/ supplies:
- One 3LBS bag of Granny Smith apples
- One bag of 50 Popsicle sticks (there will be extra)
- One 14.4 oz box of Honey Maid Graham crackers, will only be using half the box.
- One 14.3 oz box of Oreos, will only be using half the box.
- One 12 oz bag of Nestle white chocolate
- One 11 oz bag of caramel bits (can find this in the baking aisle)
- 2TBS of milk
- 1TBS of oil
Makes 12 apples, or the whole bag of Granny Smith apples.
LETS MAKE CARAMEL APPLES!
1. Wash the apples thoroughly, scrub and take off any stems on the top of the apple. 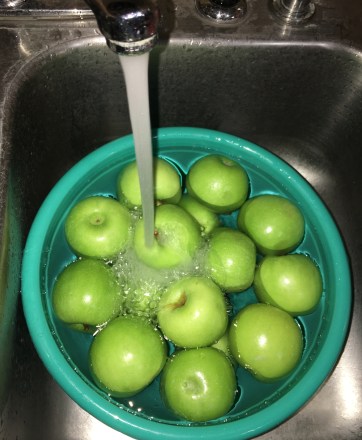 2. Dry apples with paper towels! No water should be present on the skin, as this will cause the caramel from sticking to the apples.
  3. Stick the popsicle sticks half way into the apples to ensure security as we will be dipping them in caramel, chocolate, and the coating.
4. Grab a small sauce pan and add the bag of caramel bits into the pot along with 2 TBS of milk. Melt and stir on low heat until melted and has a consistency as the picture down below. Be sure not to have the fire on too high as the caramel will BURN!


5. TIME TO DIP THE APPLES!! Take one apple and dip it into this gooey goodness covering about 3/4th of the apple with caramel.


6. Have on hand large plates or cookie trays lined with wax paper or Saran Wrap to prevent the covered apples from sticking to the plate. Allow the first coating of caramel to cool in the fridge for 30 minutes.


7. In the meantime, we will be preparing our coatings! For the cheesecake apples we will crush graham crackers to the consistency of fine grain sand. For the Oreo caramel apples we will crush Oreos to the consistency of fine grain sand. (I used a bag and a rolling pin but feel free to use a food processor as this will be much easier!) Set aside.


8. Melt the Nestle white chocolate in the microwave. Put chocolate in a large microwave safe bowl with 1TBS of oil. Pop into the microwave for 1 minute. Take bowl out mix, put in for another minute, take out and mix. The chocolate should be all melted, if not keep stirring or put back into the microwave for 30 seconds. (Careful chocolate burns very easily in the microwave making it hard to dip as it will clump up.)


9. TIME TO DIP THE APPLES! Dip apples into the white chocolate, leave 1/2 and inch of the caramel showing. *Use picture down below as reference.


10. While the chocolate is still wet you will dip the apples into the Oreo crumbs making Oreo caramel apples, or you can dip them in the graham crumbs to make cheesecake caramel apples. Which ever one you choose they will be guaranteed delicious!


EXTRA STEP!
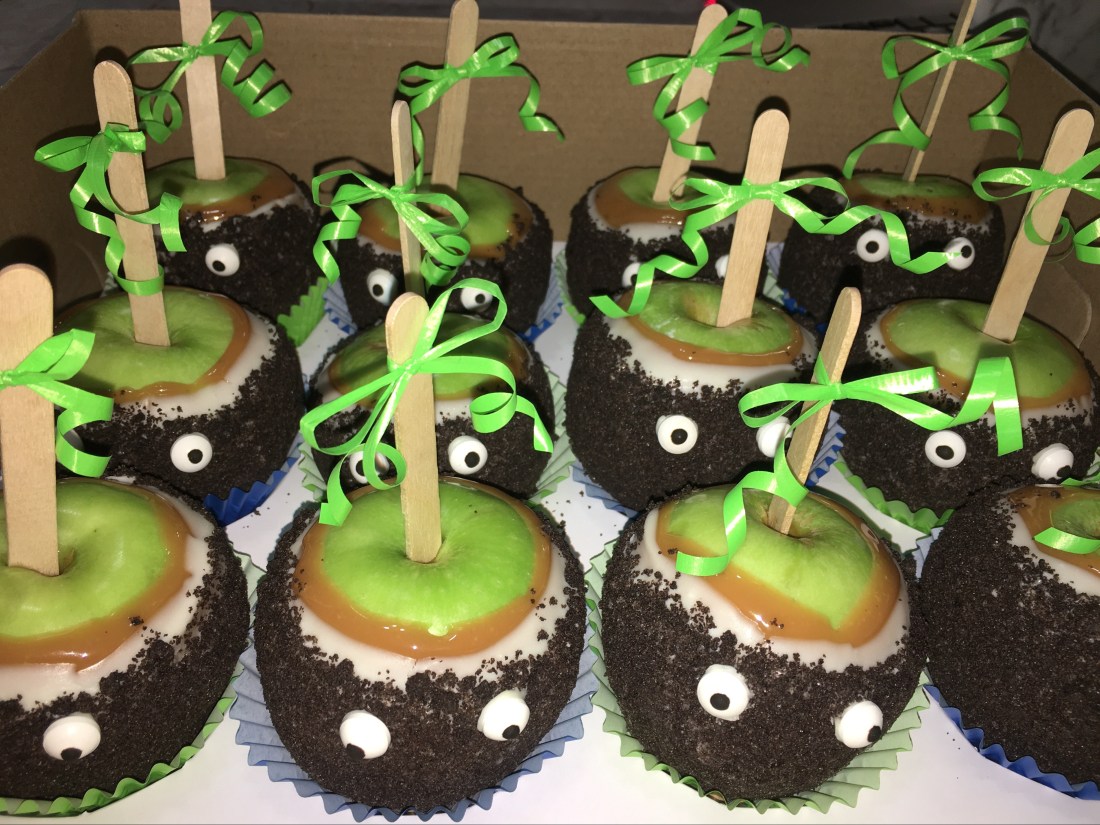
I made these apples for a kids Jurassic Park themed birthday party, so I decided to put eyes on the Oreo apples to make them little more festive. I called them DinoApples and the kids loved it!!
11. To recreate these apples all you need to do it attach some candy eyes with little bit of frosting. These can be found in the baking section of your local Walmart or target, or can be found online.


These also resemble the dust bunnies in the Hayao Miyazaki production of spirited away.
These are a cute and easy little treat which can be flexible for any occasion. From a Halloween party to a birthday party or even when you are craving a sweet treat, these caramel apples are the perfect solution.

 With recipes like this, it is very interchangeable. For example this recipe calls for bell peppers, but I am not too fond of bell peppers so I omitted that from my stir fry.


 5. Boil another pot of water large enough to fit one full bag of vermicelli noodles, bring up to a boil then add the noodles, wait for the water to boil once again. Turn off the heat and cap the pot with a lid, let it sit for 30 minutes until the noodles have come to a consistency of your liking. (Should flexible)
  6. Wash lettuce and slice cucumbers into thin sticks.


